Three Simple Design Challenges For The Start Of A New School Year
It’s the start of the school year. You’ve got a new class and a bunch of LEGO kits. What next? Here are three simple engineering design challenges that are great introductory activities and work well with any age group.
At the beginning of a new school year, I like to give my students a few, quick design challenges to help set expectations around how we will operate throughout the year. My main aim is to introduce the stages of the engineering design process in a fun way. I particularly like challenges that encourage brainstorming and rapid prototyping and that lead to a diversity of solutions. I’m also looking for challenges that allow the students to become familiar with the available LEGO pieces. I’m typically not too concerned about developing programming skills at this stage, so I prefer introductory challenges that can be done without any programming. I’ve also found that running a few shorter challenges back-to-back helps students become more confident in sharing their work.
Here are three of my favorite introductory challenges and some variations:
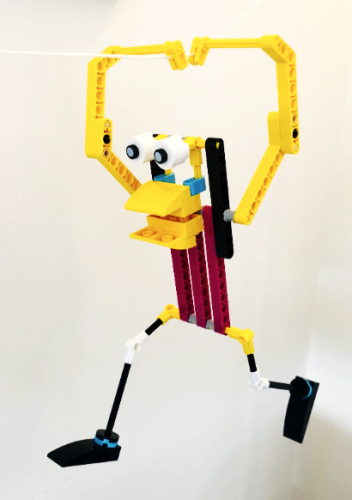
Build X
Using just the non-electronic parts in the SPIKE Prime set, build an animal. You can do this on your own or working in pairs. You’ve got 10 minutes.
In my robotics-focused classes and workshops, I’ve found that a simple building challenge like this is a great chance for those who’ve never played with Technic-style LEGO elements to start getting a feel for how the pieces fit together before undertaking a robotics design challenge.
This is a great introductory activity that is suitable for all ages and levels of experience and works with any LEGO kit. For example: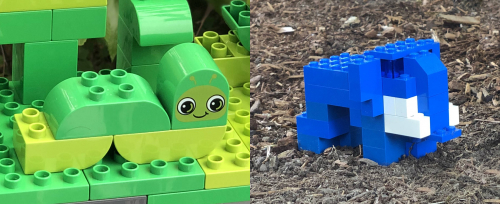
As an ice-breaker activity, this activity can provide a safe and engaging way for your students to share something personally meaningful about themselves. For example:
Build something that represents you as an individual (e.g. “skiis” because I love skiing), or something about your family, culture, or customs (e.g. a “BBQ grill” because in our home we get together every Sunday for big dinner), or your country of origin (e.g. our “country's flag” or a “wind turbine” because our country produces a lot of wind power).
More ideas:
- pet / bird / native animal
- fantasy creature
- home automation
- musical instrument
- assistive device
- scientific apparatus
- game piece or sports equipment
- something you would find in an office
- vehicle
- your next vacation destination
- your favorite movie/book/song/etc.
- a landmark that more people should visit.
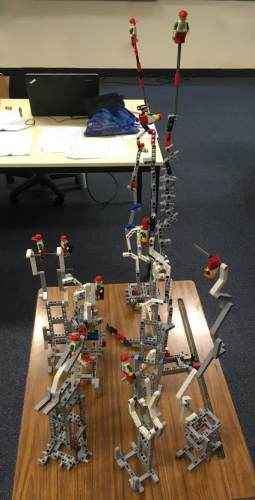
Tallest Tower
You have 10 minutes to build the tallest tower. No electronic pieces allowed.
This is a classic engineering design challenge that works perfectly well with LEGO pieces. When the challenge is presented as above, the resulting towers are invariably tall, thin, and completely unstable. Therefore, it can be fun (for the teacher, maybe not so much for the students) to introduce an additional constraint during the challenge; for example, that the towers have to withstand an “earthquake”. Once the time is up, gather the towers together on a single table. When comparing and evaluating the towers, ask the students which they think are the most robust and stable. Then shake the table, gently at first, but increasing in power, and see what happens.
As an alternative, teams could be provided with an object, such as a minifig (or maybe something larger/heavier), and then challenged to see how high they can raise the object off the ground.
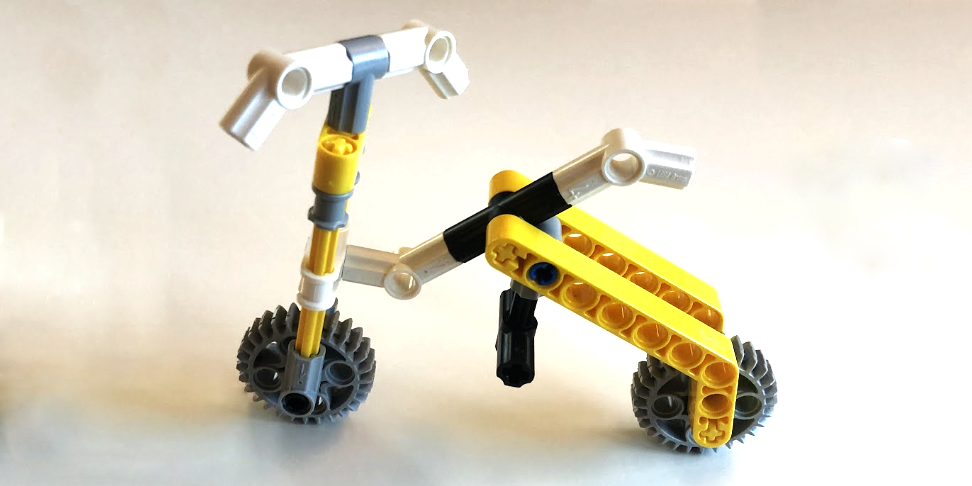
Crash Test Dummy
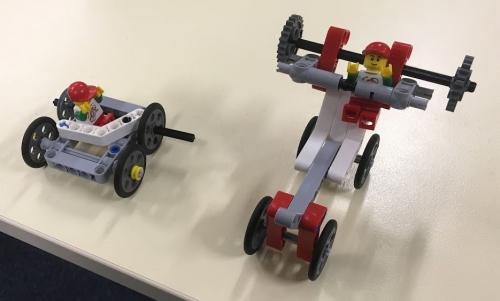
Design and build a non-motorized car for a LEGO minifig that, when given a gentle push, will roll off a table and survive a fall onto the floor without any pieces falling off.
This is a quick, fun challenge that can be used either as an introductory building activity to draw attention to the importance of robust construction or as a quick filler at the end of a lesson. When I give this challenge, I encourage my students to think about how to make their cars robust, and the value of testing early and often. I also remind them to not have any motors or other electronic parts on their cars. And for anyone who asks, the rule is also no tape, adhesive, etc.
Variations
To keep things interesting and fresh, I like to mix up these challenges by varying the constraints. For example:
You’re working in pairs, but you can only use one hand. Keep your other hand behind your back for the duration of the challenge.
Or perhaps:
You’re working in pairs, but there is to be no talking for the duration of this challenge. Only non-verbal communication is allowed with your partner.
For these quick challenges, it’s generally preferable that each team has their own set of parts. For groups where the LEGO pieces are stored in tubs (i.e. sorted by type of piece, rather than in standard sets), consider limiting the number of pieces that each team can use in another way. E.g. “Using no more than 20 pieces, build…”.
For an extra twist, I have even asked my students to select the pieces they’re going to use before giving them the challenge. E.g. “Before I give you the challenge, grab a handful of pieces from the unsorted tub, making sure you've got a selection of parts including beams and connectors, but no electronic parts.” Depending on the challenge, I might then give them the option of exchanging pieces they have chosen, but at an exchange rate of say two to one.
Let us know what you think
Have you used any of these challenges with your students? How well did they work? What other introductory and other quick design challenges have you given your students? Let us know in the comments below.
Leave a Comment