Technic Building Tips - Strong Connections
1. Never use an axle to do the job of a beam
As a beginning technic builder, you might be tempted to use axles to bridge gaps between different elements. Sometimes this is done in an attempt to provide additional stability to a build. Building with axles, however, is generally a bad idea and results in a weak structure. As soon as the construction is subject to even a little movement it tends to come apart. If you have nothing else acting as a brace, then even if you put bushings on either side of the pieces you’re attaching to an axle, then those pieces will move along on the axle, tend to pivot/twist, and you may even end up with bent axles. A much better approach is to find some way to brace the structure.
Compare the structures below. Depending on what this structure is for, the right-hand version might be somewhat overengineered, but it’s more rigid and less likely to come apart than the left-hand version.
2. Unless you want it to move, use as least two points of connection
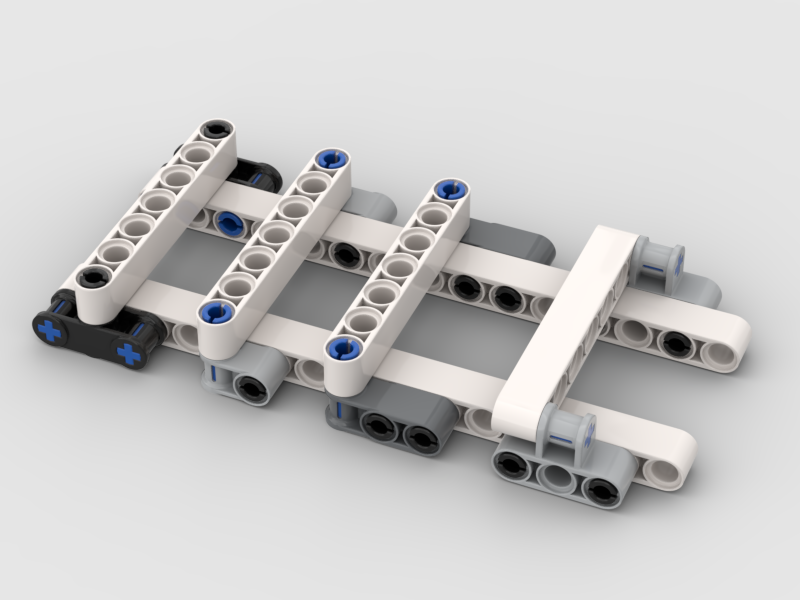
In general, if you’ve got two adjacent elements that you want to secure relative to each other you should aim to have at least two points of connection between them.
For example, to join two beams to extend their length, use two connector pins with an overlap of at least three holes.

3. Know your connectors
There are many different types of LEGO connectors available. In addition to a variety of connector pins (or pegs), the MINDSTORMS EV3 core set, for example, has a lot of axle and pin connectors that are often overlooked. Take the time to familiarise yourself with them, add them to your toolkit, and become a better builder.
Each of these pieces, and particularly the axle and pin connectors, can be used in a multitude of ways. Here is a selection of Technic connectors and a few ideas about how to use them. How could you incorporate these connectors into your next build?
Connector pins
Connector pins (or connector pegs) come in different lengths and colors. The short pins can be used to connect two beams; the long ones can be used to connect three beams.

Generally, the color of LEGO pieces has no functional significance. Connector pins are an exception.
Look closely and you’ll notice that the blue and black pins have friction ridges—they fit snugly in the holes in beams, meaning that you must exert a small amount of force to turn them.
The tan and gray pins are frictionless connector pegs. Their fit is a bit looser and they will turn freely in beam holes.
Ian Chow-Miller (contributor to LEGO Engineering) built a lesson around the differences and similarities between the different types of connector pins. Read more about that here.
Axle pins
Axle pins (or cross-axle connector pins), which are half connector pin and half axle, follow the same color rules as regular pins: black and blue as well as dark bluish-gray have friction ridges, tan and gray pins are frictionless. Note, however, that the axle sides of these connectors are the same in terms of friction.

Perpendicular axle and pin connectors
The pieces below are invaluable for joining beams at 90 degrees and for cross-bracing.


Perpendicular double axle and pin connectors
These two pieces are also useful for cross-bracing, and together with a 2L axle, work particularly well to either join stacked beams or to join beams at 90 degrees to each other.


Lift arms with axle holes
Either of these pieces can be used for adding an axle hole to a beam.


L pin, H pin, and biscuit
The 3x3 pin connector and the 3L pin connector (aka “L pin” and “H pin” respectively) are two of the most useful and versatile connectors. They are particularly well suited for attaching motors and sensors to either the EV3 brick or SPIKE Prime hub quickly and securely. The 3x3 connector block (aka “biscuit”), which first appeared in 2019 and is in the SPIKE Prime Core set, nicely complements the H-pin and is equally useful.


Thanks to Barbara Bratzel and Mitchell Torok for their contributions to this post.
Leave a Comment
Rob is there anyway to get a PDF copy of “Technic Building Tips - Strong Connections” to use with my FLL students? Thank you!
I expanded on this post for a chapter in the book G