The SPIKE Prime Heart Program
Published
The SPIKE Prime Heart Program is a great resource for quickly testing sensors, controlling motors, or controlling a motor with a sensor. You can test your builds without any programming or even build simple robots or other mechanisms that work without writing any code. For such a handy tool, it’s surprising that it is given little or no attention in the SPIKE Prime app or supporting documentation. Let's do something about that.
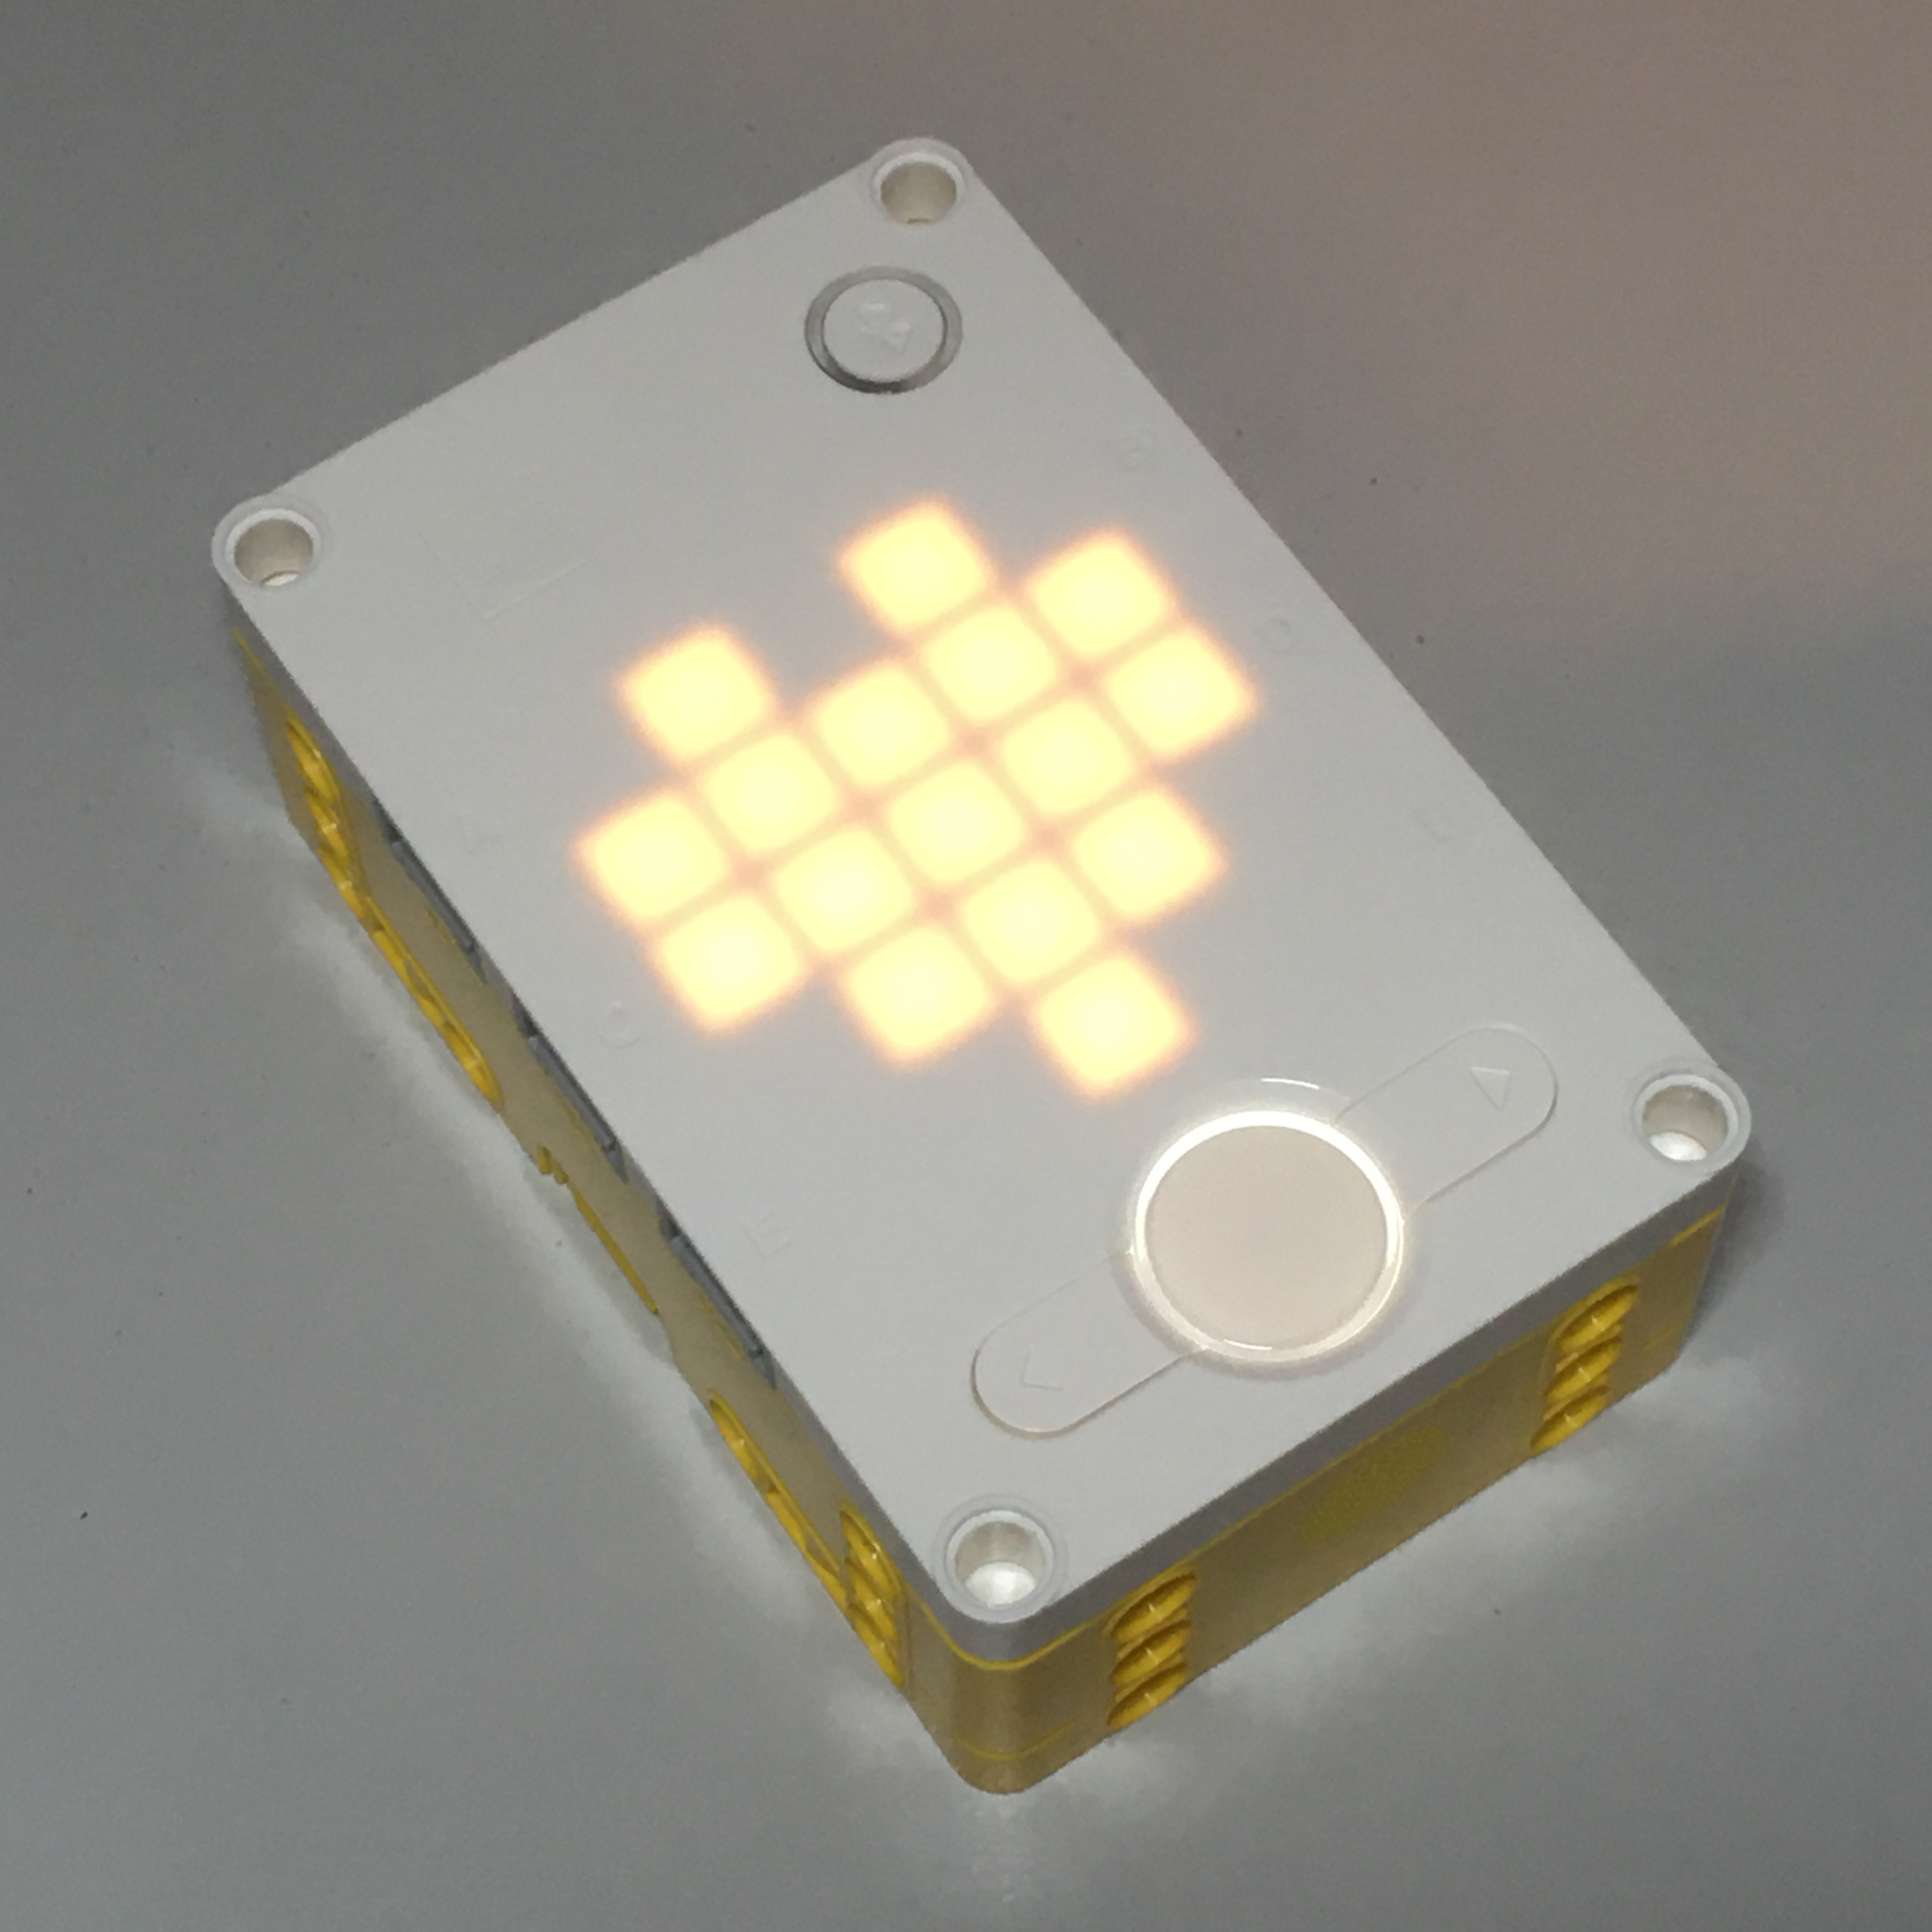
To run the Heart Program, simply start the hub, wait for the heart to appear, then press the centre button.

Working with sensors
Connect a sensor while the Heart Program is running and the display will show a bar graph between the two ports on that row, based on the sensor reading. You can display a graph for up to three sensors in this way, i.e. one per port row. This may not be the most useful function of the Heart Program, but it provides quick confirmation that your sensors are working.

Working with motors
Connect one or more motors while the Heart Program is running and then press the left or right arrow buttons to change the speed of the motors. The direction in which the motors turn depends on which button is pressed and the side of the hub that each motor is connected to. If you want two motors to move in opposite directions (e.g. for a drving base), then attach them to opposite sides of the hub.

This feature is obviously very useful when you just need to make some motors go round – maybe testing things at different speeds or seeing if your attachments work before programming them. Just be careful – because if you have multiple motors connected when you press the left or right buttons, ALL the motors will turn.
You can even set two or more motors to move at different speeds. To do this, start with one motor and get it moving (by using the left or right arrow buttons), then attach a second motor and adjust the speed again. To stop all motors, press the left and right buttons simultaneously.

Control a motor with a sensor
If you connect a sensor to a port opposite a motor, the motor will turn at a speed based on the reading of the sensor. A solid bar of pixels connects the two ports, pulsing as the sensor reading changes. For example, a motor can be made to turn faster the closer the ultrasonic sensor reads, or the harder the force sensor is pressed. You can use this function to make simple sensor-based devices without any programming at all.

Challenge ideas using the Heart Program
In addition to using the Heart Program for quick sensor feedback or for testing a mechanism, there are a number of challenges that work well with the Heart Program. Here are some ideas to get you started. If you have any additional suggestions, please add them in the comments below.
No wheels / silly walks - Make a robot move without using wheels as wheels. Or, if you prefer, make a robot move in the silliest way possible.
Shake table - Build a shake table to test the sturdiness of a construction, e.g. to test a building for earthquake preparedness.
Cross the gap - Construct a robot capable of driving across the gap between two tables. What's the widest gap that your robot can cross? (Be sure to have something underneath to catch its fall!)
Percussion playtime - Make a drum or other percussion instrument (or something to play a percussion instrument) that is controlled by a sensor.
Simple remote control - Build a simple sensor-controlled car. e.g. two force sensors, each paired to a motor.
Security system - Design a system that raises an alarm when a sensor is activated. e.g. intruder alarm, snack protector.
Home automation - Create something to help around the home. e.g. spin a fan when someone is present (or automatically dispense hand sanitiser, or open a door, etc.)
Proximity alert - Build a wearable device that provides haptic feedback (i.e. feedback using touch) when someone else or another object is present e.g. an electronic cane for someone with vision impairment, or a social distancing sensor.
Thanks to Nathaniel Coles for giving permission to build on his Heart of the Hub post, originally published on the LEGO Engineering website.
Blog Think Like An Engineer
12/07/2020 4:37am EST
Leave a Comment
Please bring back the “MORE MOVEMENT” block that displays (Move Straight: 0 for (50) cm or inches at (100) % Speed) - This is a VERY helpful block for students and everyone everywhere and even on stages at the WRO - people were all talking about the bonehead move to have removed it and the dumb workaround of having to use a movement block along with an operator block to divide the 17.5 rotations by a whole number representing you cm and then using a different block to first have to set your movement percentage (speed). Before Lego had it all in one block; now everyone is having to do this ridiculous and odd work-around for something that is entirely not necessary… Why would those at Lego think that making your product harder to use was actually a smart idea?